-
Define the goal and purpose of the interactive label
Before creating an interactive label design, it is important to define the goal and purpose of the interactive element. What information do you want to provide to customers? What action do you want them to take after interacting with the label? Defining the goal and purpose of the interactive label will help ensure that the design is effective in achieving its intended purpose.
-
Choose the right interactive element
There are a variety of interactive elements that can be incorporated into label designs, including QR codes, AR, and NFC (near-field communication) tags. Each of these elements has its own strengths and weaknesses, and the right choice will depend on the goal and purpose of the interactive label. For example, QR codes are ideal for providing customers with additional information or for directing them to a website, while AR can provide an interactive and immersive experience that showcases the product.
-
Use high-quality visuals and graphics
Interactive label designs should include high-quality visuals and graphics that are visually appealing and consistent with the overall branding of the product. This includes the use of high-resolution images, appropriate fonts and typography, and a color scheme that is consistent with the product’s branding.
-
Ensure compatibility with mobile devices
Many interactive label designs are designed to be scanned or interacted with using mobile devices. As such, it is important to ensure that the design is compatible with a range of mobile devices and operating systems. This may require testing the design on a variety of devices to ensure that it works as intended.
-
Provide clear instructions for interaction
Interactive label designs should include clear instructions for how to interact with the label. This may include instructions for scanning a QR code or downloading an AR app. The instructions should be easy to understand and prominently displayed on the label design.
-
Test the interactive label design
Before finalizing the label design, it is important to test the interactive element to ensure that it works as intended. This may require testing the design on a range of devices and in different environments to ensure that it is functional and provides a positive user experience.
-
Ensure accessibility
Interactive label designs should be accessible to all users, including those with disabilities. This may require incorporating features such as alternative text for images or audio descriptions for AR experiences.
-
Provide value to customers
Interactive label designs should provide value to customers by providing them with additional information or an engaging experience. The interactive element should not be included simply for the sake of being interactive, but should serve a specific purpose and provide value to the customer.
Use of Templates and Libraries to Speed Up the Design Process

Label design is a crucial aspect of branding and product marketing. It is the first thing that customers see, and it sets the tone for their expectations of the product. Label designer software provides a range of tools and features that can be used to create labels that are visually appealing and informative. However, designing a label from scratch can be a time-consuming process, especially when creating labels for a large number of products. To speed up the design process, label designer software often includes templates and libraries that can be used to quickly create professional-looking labels.
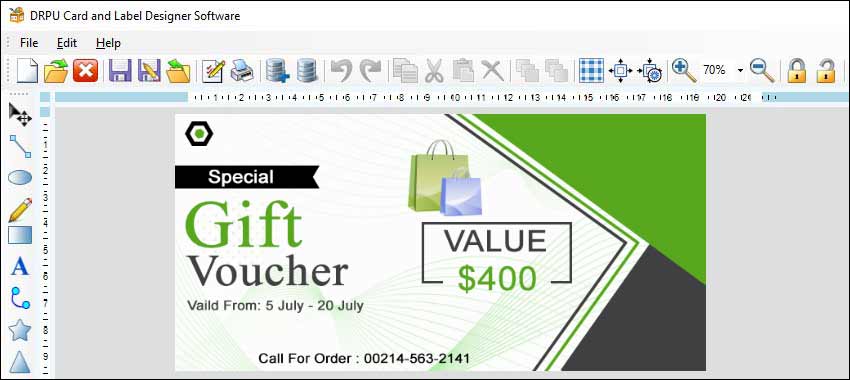
Templates are pre-designed label layouts that include placeholders for text, images, and other design elements. They are designed to provide a framework for the label design process, making it easier to create labels that are consistent in appearance and layout. Templates are available in a variety of sizes and shapes, including standard label sizes such as Avery, as well as custom sizes. Templates can be used to create labels for a range of products, including food and beverage packaging, cosmetic products, and household items.
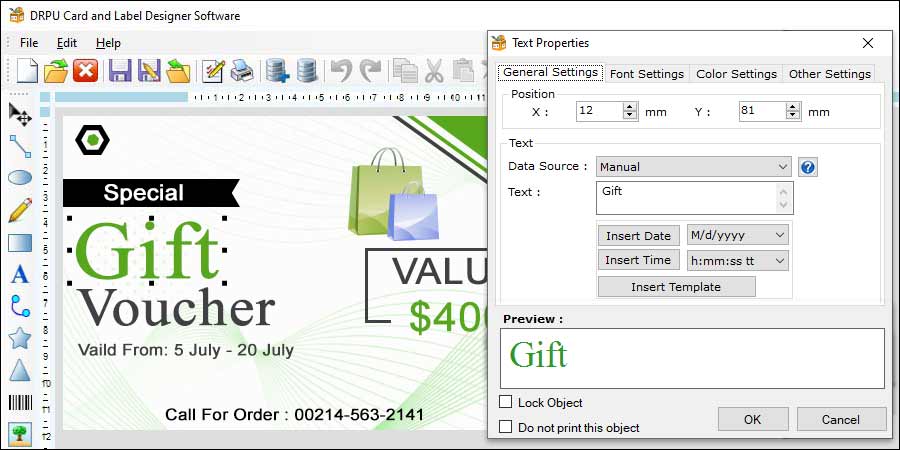
To use a template in label designer software, the user simply selects the template that best suits their needs, and then customizes it with their own text, images, and other design elements. The user can change the color scheme, font style, and layout of the template to match their branding and product requirements. Once the design is complete, the user can save the label template for future use or print it directly from the label designer software.
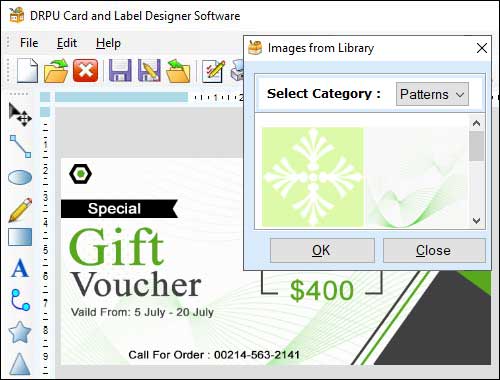
Libraries are another feature of label designer software that can be used to speed up the design process. Libraries are collections of pre-designed design elements, such as images, icons, and graphics, that can be used to enhance the label design. Libraries can be created by the user or provided by the label designer software vendor. Libraries can be organized by theme, such as food and beverage, or by design element, such as icons and graphics.
To use a library in label designer software, the user simply selects the design element they wish to use, and then inserts it into their label design. The user can customize the design element, such as changing its color or size, to match their branding and product requirements. Libraries can save the user time and effort by providing a range of design elements that can be quickly added to the label design.
➨The use of templates and libraries in label designer software can provide a range of benefits, including:
-
Speeding up the design process: Templates and libraries can save time by providing pre-designed elements that can be quickly customized to create professional-looking labels.
-
Consistency in design: Templates can provide a consistent framework for the label design process, ensuring that all labels have a similar layout and appearance. Libraries can provide a range of design elements that are consistent in style and theme.
-
Reduced errors: Templates and libraries can reduce the risk of errors in label design by providing a structured approach that ensures all necessary elements are included.
-
Customization: Templates and libraries can be customized to match the branding and product requirements of the user, ensuring that the labels are unique and stand out from the competition.
-
Flexibility: Templates and libraries can be used for a range of products and label sizes, providing flexibility in the label design process.
In conclusion, the use of templates and libraries in label designer software can be a valuable tool for speeding up the label design process. Templates provide a framework for the label design process, while libraries provide a range of pre-designed design elements that can be quickly customized to create professional-looking labels. The use of templates and libraries can save time, reduce errors, and ensure consistency in design, while providing flexibility and customization options.
Most Common Mistakes to Avoid When Designing Labels
Label designer software is an essential tool for creating professional-looking labels for various purposes, including product packaging, shipping, and identification. However, designing labels can be challenging, and mistakes can occur during the process. Some most common mistakes to avoid when designing labels using label designer software and how to prevent them:-

-
Low Resolution Images
One of the most common mistakes when designing labels is using low-resolution images. A low-resolution image can result in a blurry or pixelated label, which can make your product or brand look unprofessional. It is crucial to use high-quality images for your labels to ensure that they look sharp and clear.
When creating a label, it is important to use high-resolution images, preferably 300 dpi or higher. This will ensure that the images are sharp and clear, even when printed at a small size. When selecting images for your label, make sure to choose high-quality images that are suitable for printing.
-
Incorrect Bleed Margins
Another common mistake when designing labels is incorrect bleed margins. Bleed is the area around the edge of the label that extends beyond the finished size of the label. The bleed area is essential because it allows for any slight shifts in the printing process and ensures that the label is cut correctly.
If the bleed margins are incorrect, it can result in white borders or edges around the label, which can make your label look unprofessional. To avoid this mistake, it is important to set the bleed margins correctly when designing your label. Typically, a bleed of 1/8 inch or 3mm is sufficient for most labels.
-
Incorrect Color Mode
Using the incorrect color mode is another common mistake when designing labels. Most label designer software offers two color modes: RGB and CMYK. RGB is used for digital displays, such as computer screens, while CMYK is used for printing.
Using the wrong color mode can result in a color shift when the label is printed. To avoid this mistake, it is important to set the color mode correctly when designing your label. If you are designing a label for printing, use the CMYK color mode.
-
Poor Font Choice
Font choice is crucial when designing a label. The wrong font can make your label look unprofessional or difficult to read. When selecting a font for your label, consider the following:
The font should be easy to read, even at a small size.
The font should be appropriate for your product or brand.
Avoid using too many different fonts on the same label.
-
Overcrowding the Label
Overcrowding the label is another common mistake when designing labels. It can be tempting to include as much information as possible on the label, but this can result in a cluttered design that is difficult to read.
-
Not Testing the Label
Not testing the label is a common mistake that can result in costly errors. It is essential to test the label before printing to ensure that it looks the way you intended and that there are no errors.
Print a test label on the same printer and paper stock that will be used for the final label.
Check for any errors, such as spelling mistakes or incorrect information.
Check that the colors and images look the way you intended.
Make any necessary adjustments before printing the final label.
Include only essential information on the label.
Use bullet points or icons to make the information easier to read.
Use whitespace to help separate different elements of the label.
➤In conclusion, designing labels can be a challenging process, but avoiding common mistakes can ensure that your labels look professional and are effective.